Here in Victoria BC, we not only do landscape installs but also repairs. This is a quick journal of a quick repair job we did on a paver driveway.
First we took a look at the overall landscape to see what some possible causes were. Was it erosion? Was it run off? Was it poor construction? The original builder was a Do It Yourself homeowner and often times things are missed. Of course there are limits to what can be found out in this preliminary phase as there are always hidden and buried surprises, literally. However, we discussed with the homeowners some of the issues and took a look around the property to try to get an educated outlook.
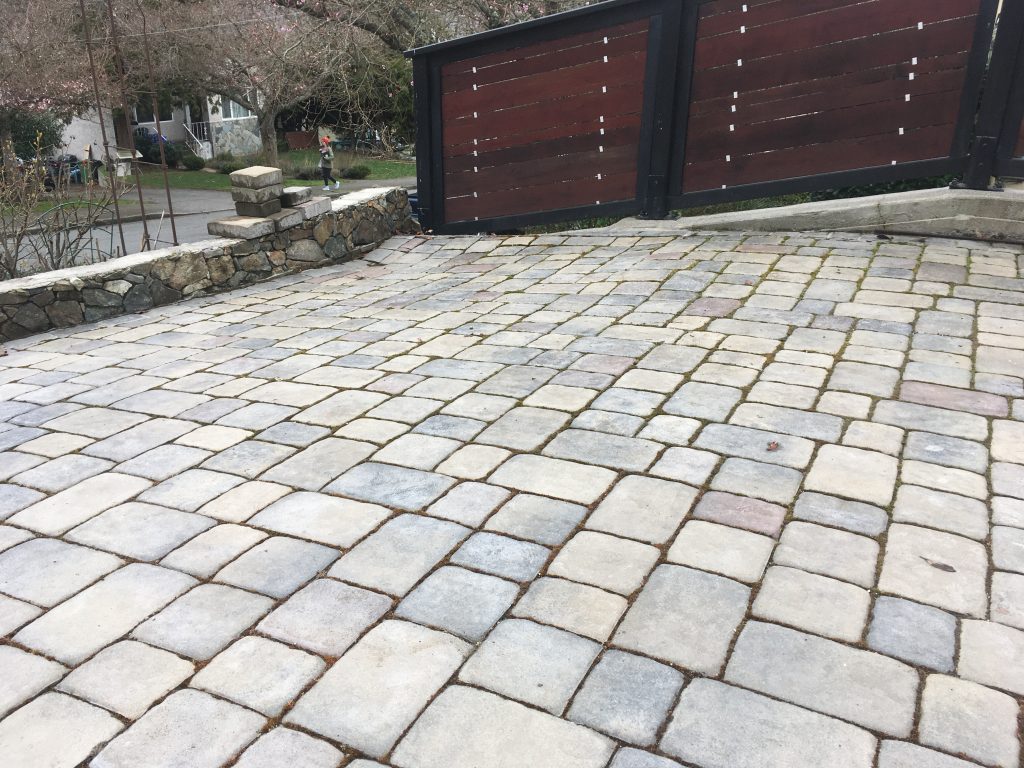
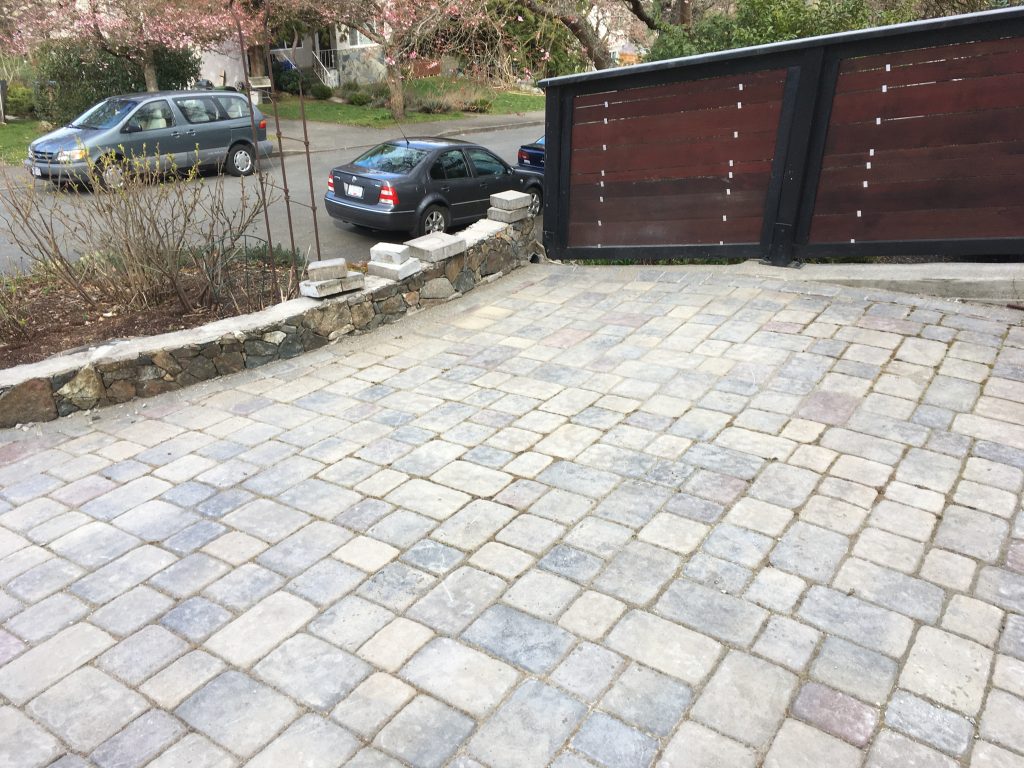
During this time we found out what the main issues were that the owners wanted to be fixed, which in this case was water pooling and significant sinking and bulging. Coming out of Winter, we all know how much it rains here in Victoria BC and the owners noticed a lot of water issues as a result. The initial investigation suggested significant water runoff concentrated in a lower corner that cause the sand underneath to shift and the pavers above to move significantly. A paver was pulled up during this inspection to give confidence to this idea. Additionally, questions were asked regarding the length of this problem as it can give clues to the cause as well.
Once the job started, pavers in the affected area were removed and placed nearby in the exact configuration to make reinstall more efficient. The sand and dirt that had washed into the area was removed. During this time it was discovered that there was a concrete ridge running along the entire affected side of the driveway that in some places rose up 2 inches. This turned out to be the main reason for the bulge along the edge. This had previously been buried under sand and dirt washed down from above. As it was connected with the massive 10=15 ft ft concrete retaining wall under it, it could not be simply sheared off. The problem was solved with the use of a hammer and shaving off the bottom of the paver bricks to make them thinner.
Rather than using sand as the base material, which we normally would do for paver installs, we went with only using clear crush 3/4″ gravel. This was a strategic decision made so that any run off would not be able to wash away particulate base material, causing the pavers to shift yet again. The downside of this is that the install is much more difficult as sand being much more malleable allows the install of a smooth paver surface to be much easier. Ensuring a smooth surface with proper grade then was a challenge.
Once this base was graded properly, which we ended up raising by anywhere from 0.5 to 1 inch from the previous grade, we compacted the layer multiple times to ensure stability. Pavers were then reinstalled in the same configuration as before and compacted with a plate compactor to really give a smooth appearance and build stability. The old dips are gone and water no longer pools as a water test confirmed. The edge has been lowered significantly as well with many cuts made with the masonry saw. Joint sand was applied and dispersed to give it a smooth look, prevent weeds, and increase the stability of the entire structure.
Overall this job took a day to do, even with the unexpected surprises.
If this is something that interests you, please contact us.